Being a VMware vExpert, I decided to use the free 1,000 CPU hours per month to run VMware ESXi labs or VMware workloads in AWS or Google cloud to test out the newest version of Bitdefender Gravityzone on VMware vSphere 6. If you are not a VMware vExpert Ravello still provides a free trial period.
Click Here to check out more information about Bitdefender and download a free trial.
The first thing I did to get started was to add the Autolab 2.6 Final blueprint to my library and setup and application. You can check out these links on how to setup Autolab on Ravello :
- Autolab 2.6 Final in Repo
- Walk through video of deploying AutoLab on Ravello
- AutoLab on LabGuides.com
- AutoLab 2.6 on Ravello – Setup
Once you have Autolab setup on Ravello, your blueprint will look like this :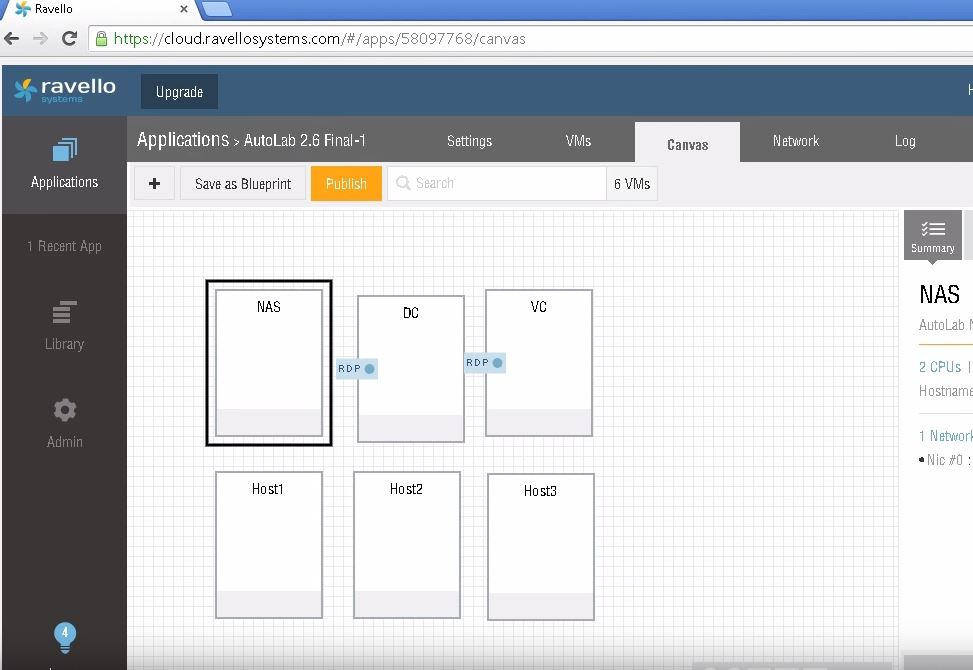
I did not want my DC & VC exposed publicly, so I removed public RDP access and added a WIN 7 VM as a jump box. I also added three more ESXi hosts to my blueprint.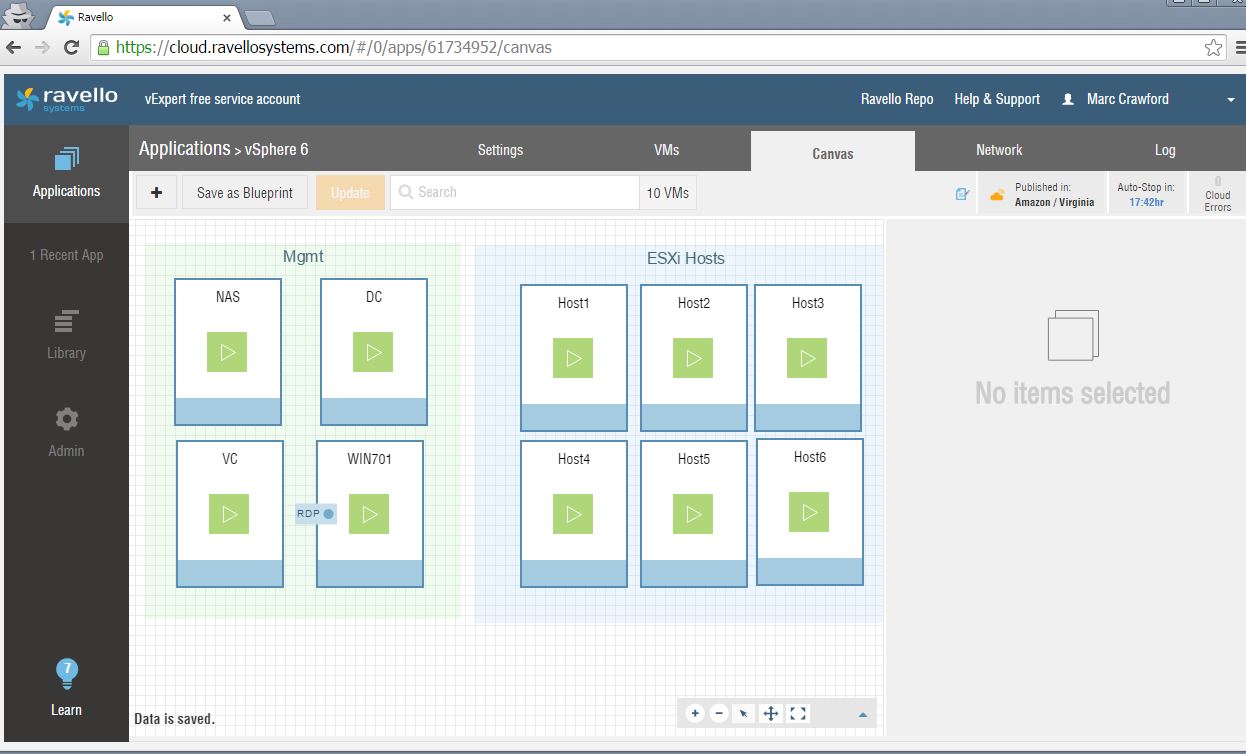
Once the NAS, DC, VC & WIN701 VM’s were built, I modified the PXE boot menu so I could build more than 3 ESXi hosts. You just have the modify the .cfg files in the TFTP-ROOT dir on the DC.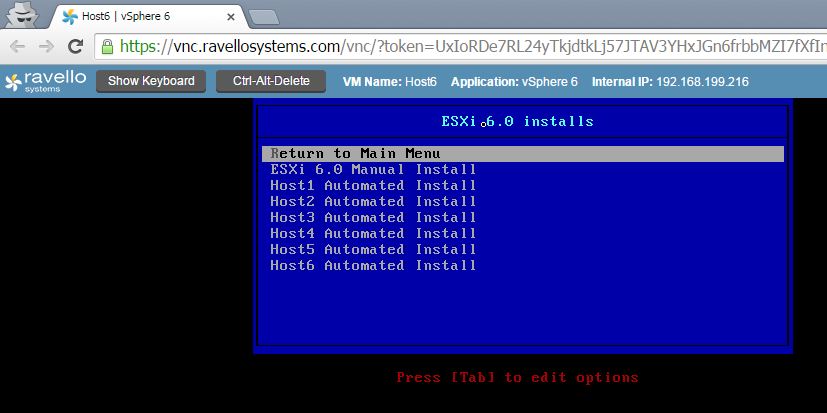
After I had all the ESXi hosts were built and added to the cluster, it was time to install and setup VMware vShield since I was going to be testing agent-less AV. This site has good instructions on where to download and how to install vShield. Once you have vShield installed and endpoint installed on all the hosts, vShield should look like this.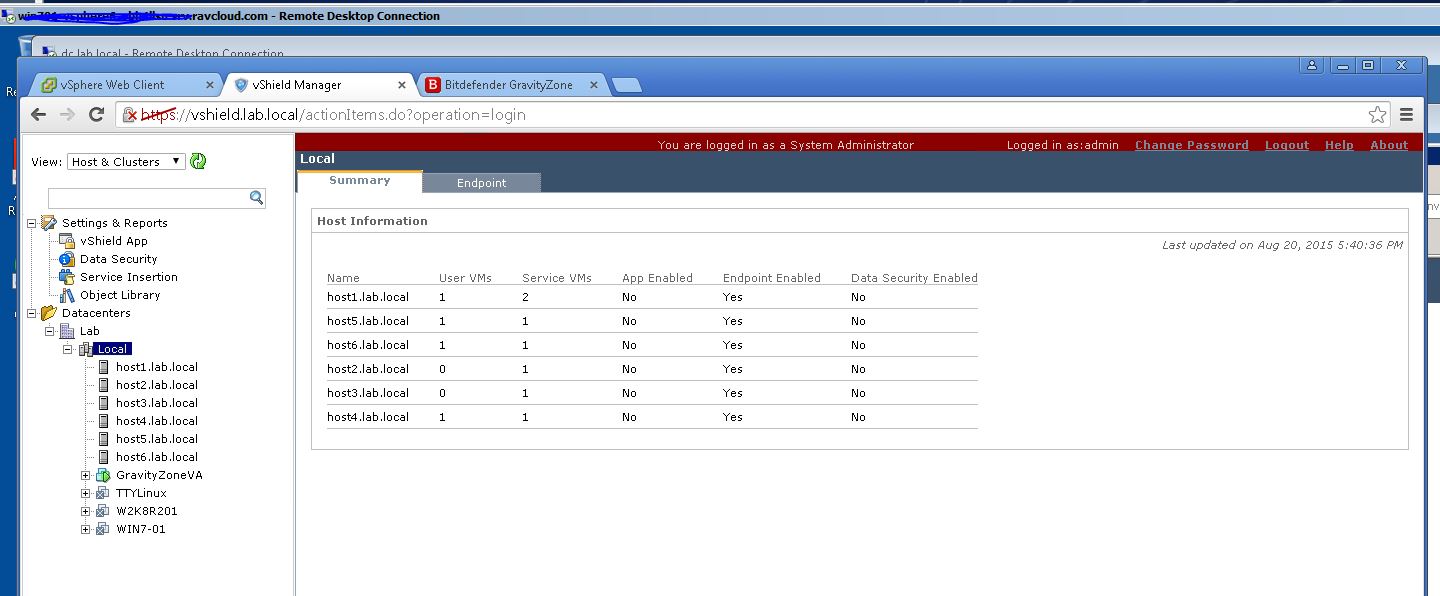
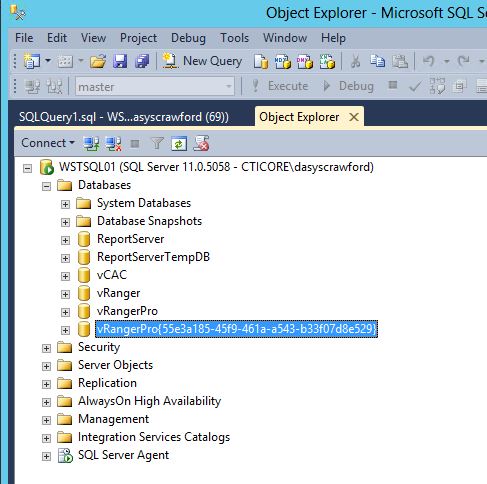
Now that vShield is deployed and all setup it is now time to deploy Bitdefender Gravityzone. You can learn more about Bitdefender and download a free trial from their website. You can download the installation guide and follow it to install and setup Gravityzone. Once you have Gravityzone installed, then you can deploy the security appliances to each ESXi host. In the picture below you can see I have the security appliance applied on each ESXi host and they have their own special icon.
After vShield and Bitdefender was installed, I installed a Windows 7 VM on one of the ESXi hosts. It takes a little longer to install because it is nested on an ESXi host that is nested on Ravello, but it works. After Windows 7 is installed, I installed VMware Tools. For agent-less AV to work, you need to enable Guest Introspection.
Now that everything is installed, it’s time to test it out. You can go to the eicar website and download the eicar.com file. I always save the file as eicar.txt. I then open it and it should be blank.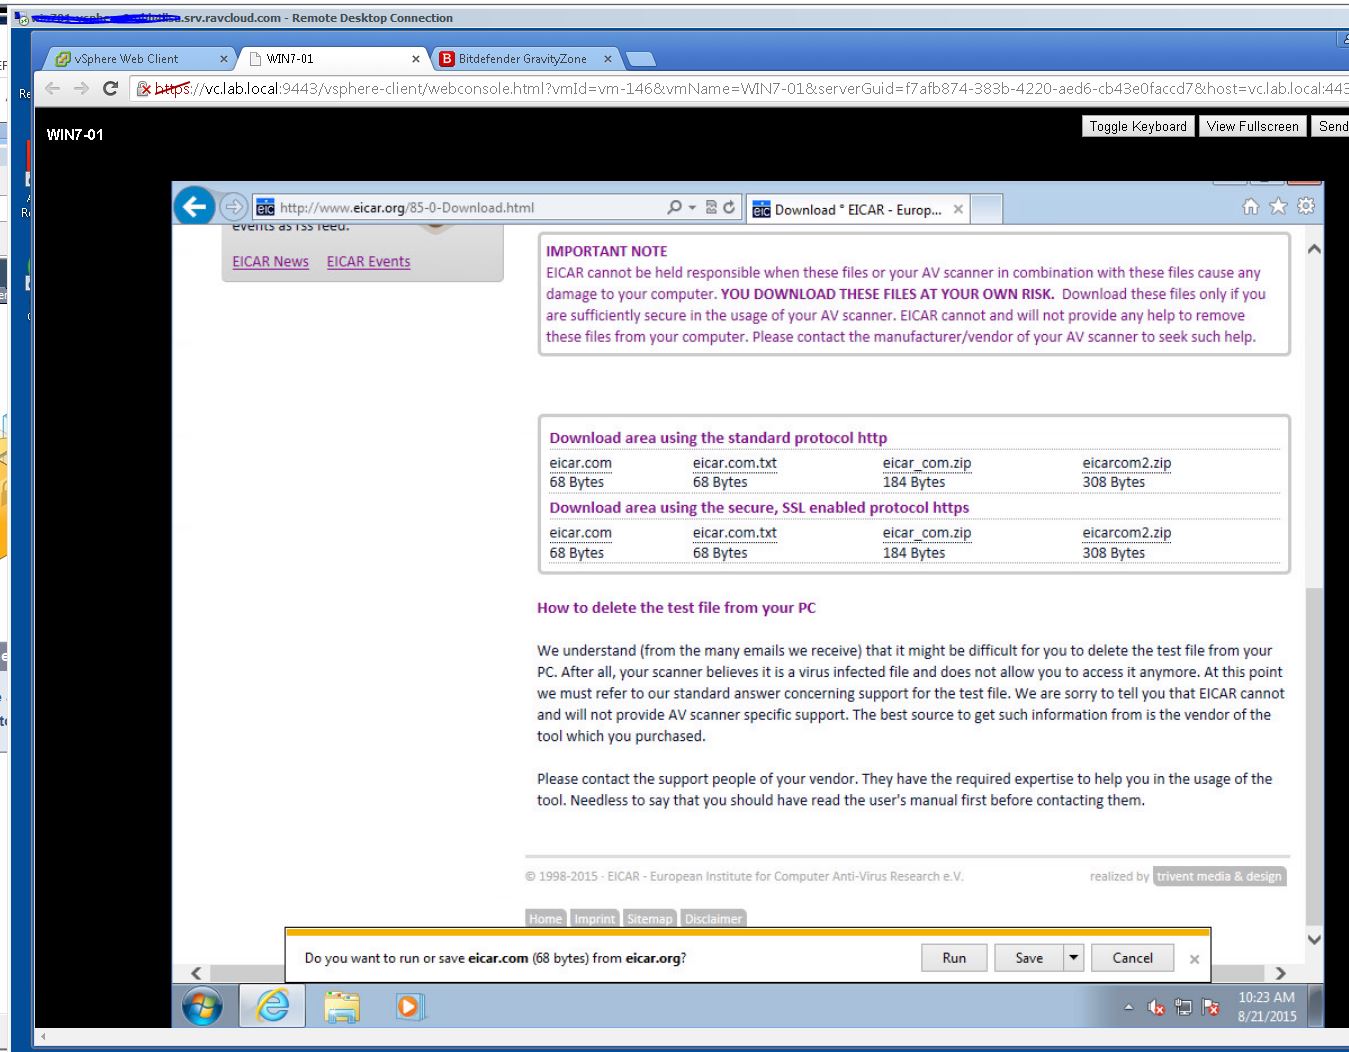
Then you can log into Gravityzone and go to the dashboard. It should show that it resolved an issue on one VM.
Bitdefender is a good solution for virtualized environments. You can use vShield agentless solution and deploy security appliances on each host or you can deploy the Bitdefender agent on each VM and have one security appliance that all the scanning is offloaded to.
Ravello made all this testing a lot easier since I did not have to setup any hardware, but my free 1000 hours did run out faster than I thought. I will need to keep a closer eye on the number of hours I use each day.